Revit Trim Roof By Extrusion

Revit Roof By Extrusion A How To Guide Youtube

Trim Wall Top With Ref Plane Autodesk Community Revit Products

Trimming An Extruded Roof

Solved Can T Trim Parts Of Roof With Void Extrusion Autodesk Community Revit Products

Curtain Wall Detail Bing Images With Images Curtain Wall Detail Roof Detail Facade Architecture

Solved Cutting Roof Mullion Profile In Revit Autodesk Community Revit Products
To resize the extrusion in the 3d view select it and use grips to edit it.
Revit trim roof by extrusion.

Image Result For Aluminium Coping Fascia Trim Roof Design Roofing Aluminum Roof

San Francisco Airport Air Traffic Control Tower And Integrated Facility San Francisco Airport Air Traffic Control Facility

Fascia Profile Hack For Showing Corrugated Metal Deck In Revit Youtube Metal Deck Corrugated Metal Fascia

Solved Reasons For Void Not Cutting An Extrusion Autodesk Community Revit Products

Shed Roof Square Cut At Top Edge Please Help Autodesk Community Revit Products

Grasshopper To Revit Http Bimoutsourcing Com Grasshopper To Revit Html Con Imagenes Planimetria Planos

Revit Roof Series Part 2 Roof By Extrusion Youtube

Frame Wall With Exterior Rigid Insulation With Cavity Insulation And Brick Or Stone Veneer Applicabil Exterior Insulation Brick Veneer Interior Wall Insulation

58 Revit Tips Adaptive Curved Frame For Curved Walls Youtube Com Imagens Revit Molduras

10 Revit Tutorial Roofs Part 2 Roof By Extrusion Youtube

Chromed Brass Edge Profile For Walls Projolly Square Chromed Brass Edge Profile Progress Profiles With Images Wall Design Architecture Details Tile Trim

Z Shadow Bead Aluminum Str 050 063 1 2 W X 5 8 D X 10 Lg Prime Painted Metal Door Aluminum Extrusion Installation

Beveled Corner Bead Detail Drywall Drywall Corners Extruded Aluminum

Gallery Of Diffused Light How To Design Lantern Buildings With Self Supporting Glass Walls 22 Glass Wall Diffused Light Translucent Glass

Solved How To Change The Colour Of Generic Roof From Green To Other Autodesk Community Revit Products

Revit Roof Basics 04 Intersect By Roof Join Cadclips Youtube

How To Create A Sloped Work Plane In Revit Autodesk Community Revit Products
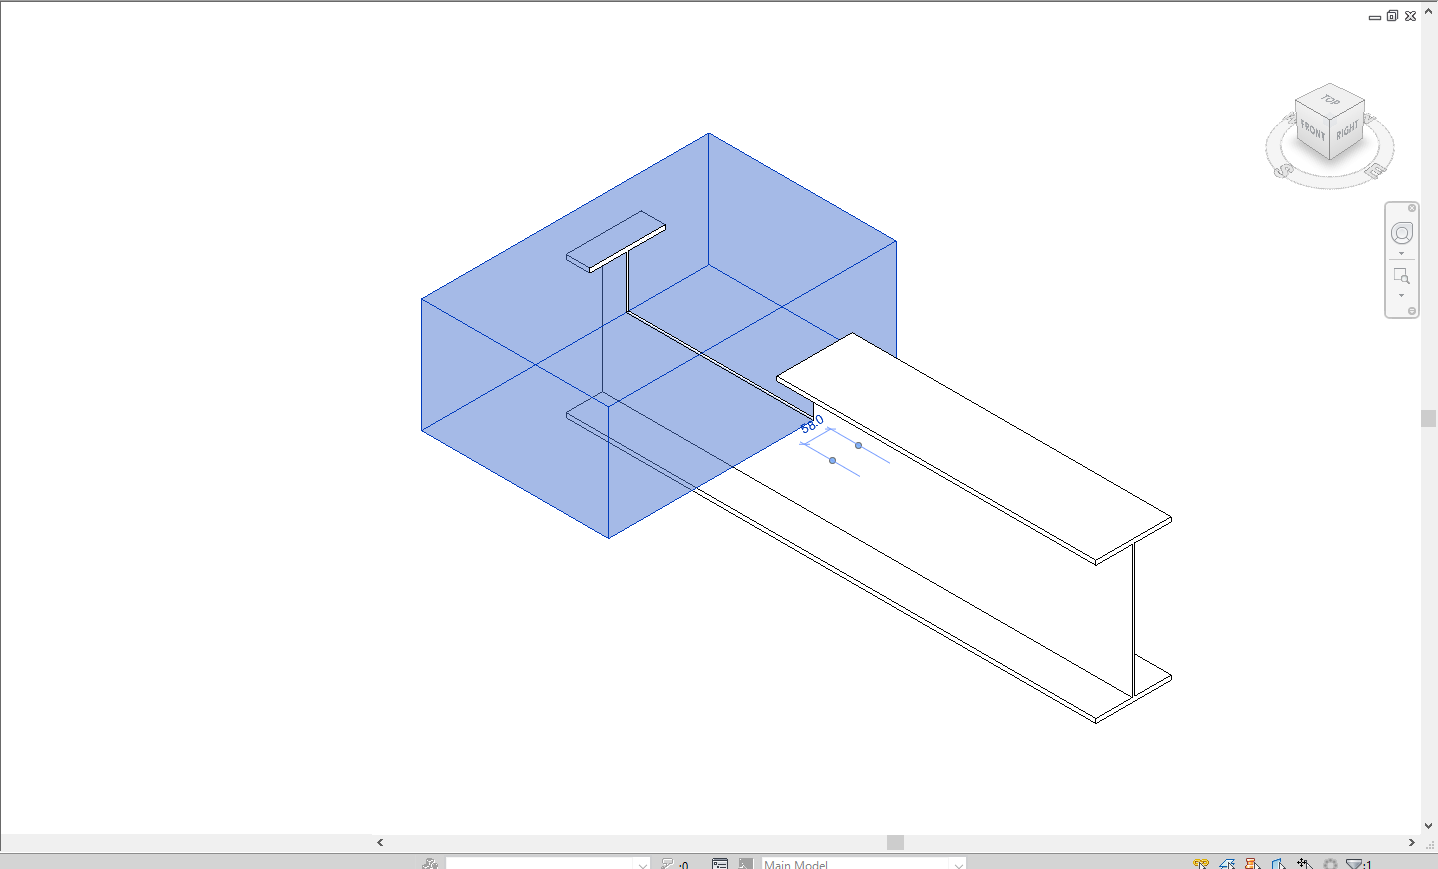
How To Cut Structural Beam With Void In Revit Revit Products 2019 Autodesk Knowledge Network
Https Encrypted Tbn0 Gstatic Com Images Q Tbn 3aand9gcslgimm18nz5xb 2rwkqmhslb Iy1nsi1iobhqcz3ylzzknlyws Usqp Cau
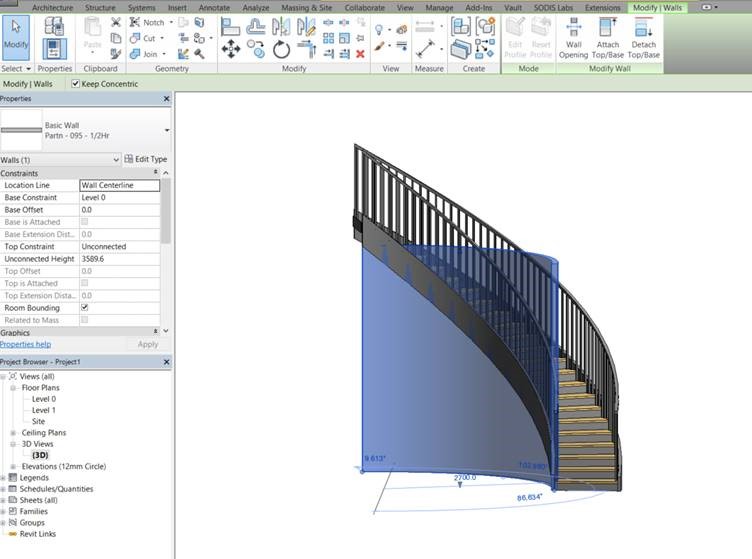
Trimming Walls To The Underside Of Curved Stairs Using Voids In Revit 2019 Cadline Community
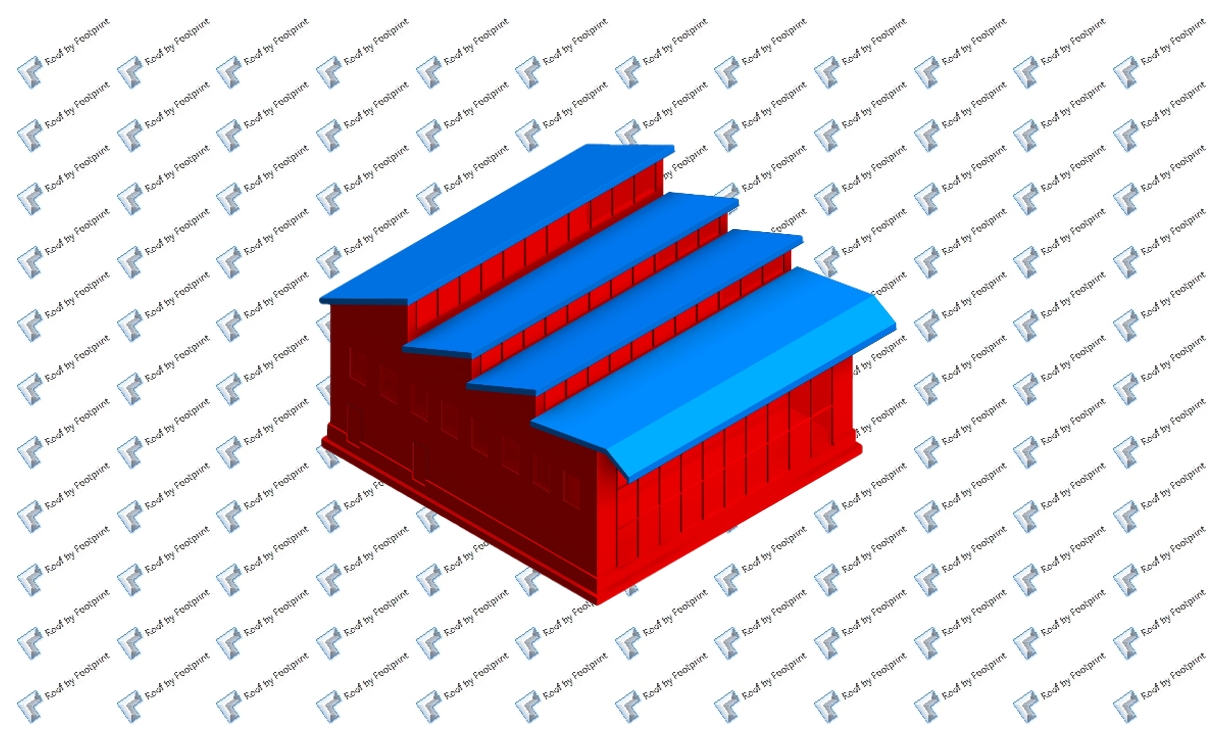
Common Types Of Roofs How To Model Them In Autodesk Revit Agacad

Trim House By Apollo Architects And Associates Architect Architecture Japan Architecture

Structural Glass Handrail And Balustrading Solutions Detali Arhitektury Nastil Kryshi Arhitektura

Revit Architectural Project 18 Parapet Wall Inplace Sweep Youtube
Source : pinterest.com
