Revit Extending Walls To Roof

Cannot Join Walls To Roof In A Proper Way Autodesk Community Revit Products

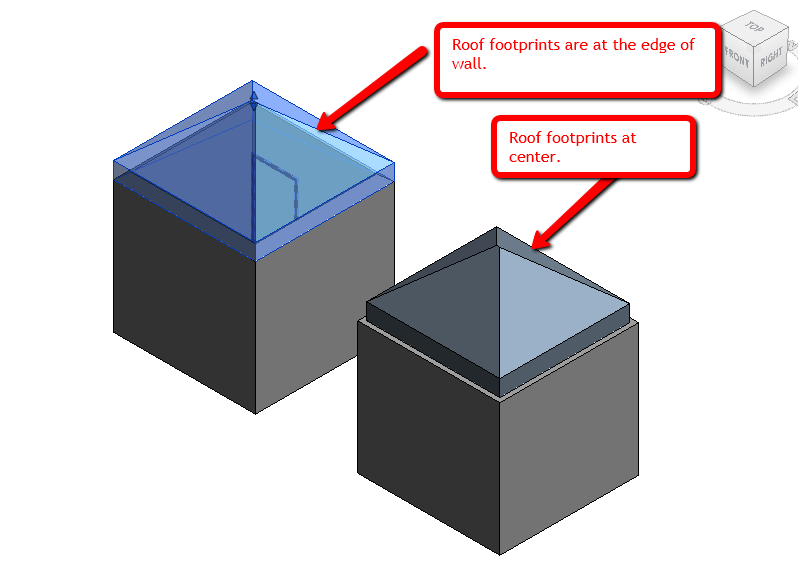
Roof Boundary Definition And Construction Settings In Revit Models Agacad
Revitcity Com Wall To Roof Join Issue
Revitcity Com Difficulty With Wall And Roof Ends

Slop Bottom Of Wall Autodesk Community Revit Products

Split Gable Roof Autodesk Community Revit Products

You cannot join a roof to more than one top face of another roof.
Revit extending walls to roof.

Wall Roof Joint Autodesk Community Revit Products

Solved Walls Not Attaching To Roof Created By Selecting Faces Of Mass Autodesk Community Revit Products

Solved Why Do Roofs Cut Walls When Joined Autodesk Community Revit Products

Revit Architecture Roof By Footprint Bimscape

Solved How To Adjust Top Extension Distance For Wall That Is Aligned With Roof Ref Pl Autodesk Community Revit Products
Revitcity Com Roof Wall Core Problem

Solved Recessed Roof Extending Into Wall Autodesk Community Revit Products

Solved Walls Not Attaching To Curved Roof Autodesk Community Revit Products
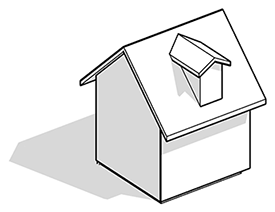
Video Create A Dormer Revit Products 2019 Autodesk Knowledge Network
9 Tips To Understand Revit Roofs Revit Pure

Exporting Ifc From Revit Walls Don T Attach To Roof Autodesk Community Revit Products

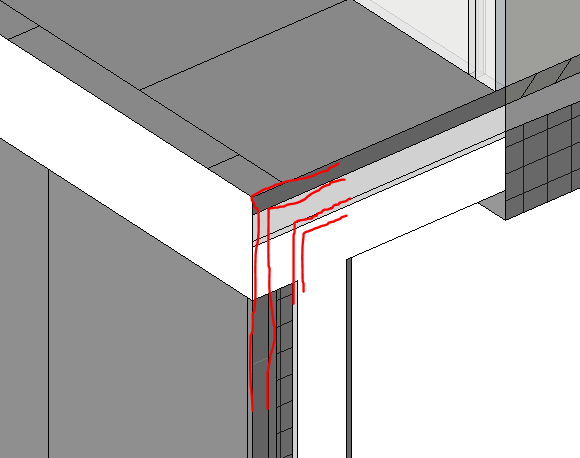
Eave Detail Continuous Insulation Finish Autodesk Community Revit Products

Solved Attaching Wall To A Roof Problem Autodesk Community Revit Products

Window Family Void Not Cutting Joined Wall Autodesk Community Revit Products

Revit Roof Basics 04 Intersect By Roof Join Cadclips Youtube

Solved Roofs Page 2 Autodesk Community Revit Products
Solved Cannot Extend Layer S Of The Highlighted Vertically Compound Wall Autodesk Community Revit Products

Attach Top Base Can T Keep Wall And Roof Joined Autodesk Community Revit Products

Solved Roof Overhang Option Not Available For Some Roofs Autodesk Community Revit Products

Walls Are Not Visible In Floor Plan Autodesk Community Revit Products

Solved How To Do A Double Gable End In Revit Autodesk Community Revit Products

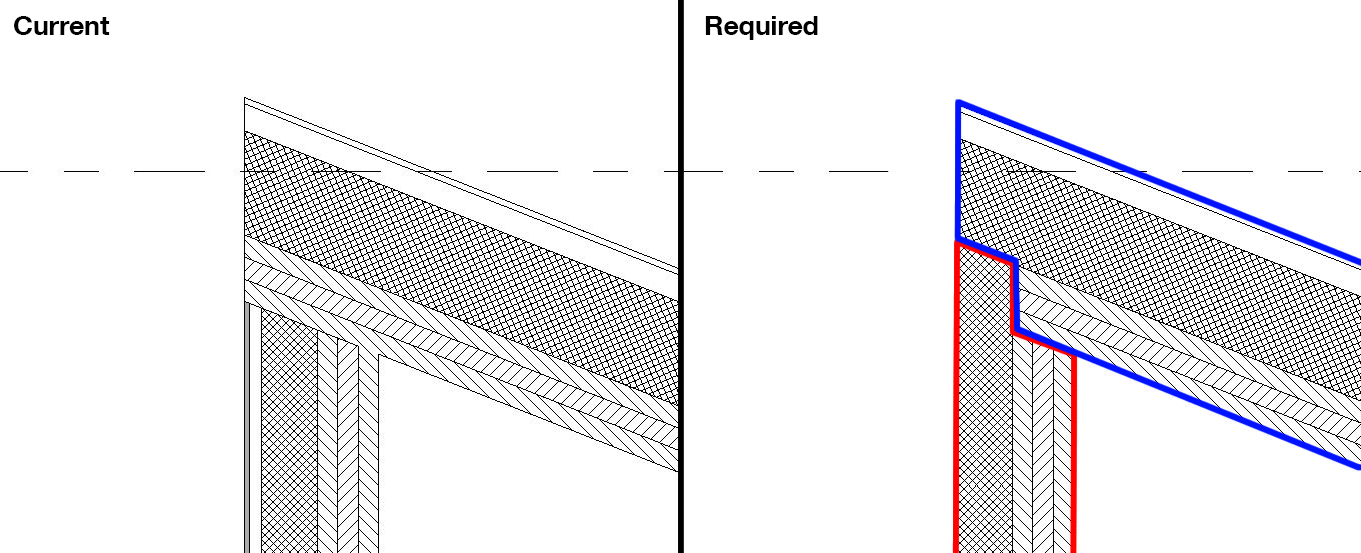
Solved Compound Wall Core Extending Into Roof Structure Autodesk Community Revit Products

Adding Roof Edge Dormers Revit Tutorial Lynda Com Youtube

3 Complex Roof Shapes In Revit Youtube
Source : pinterest.com
