Revit Extend Wall Up To Roof Deck

Solved Single Wall Attach To Two Roofs Autodesk Community Revit Products

Cannot Join Walls To Roof In A Proper Way Autodesk Community Revit Products

Solved Roof Wall Join One Side Roof Misses Autodesk Community Revit Products

Solved How To Adjust Top Extension Distance For Wall That Is Aligned With Roof Ref Pl Autodesk Community Revit Products

Attach Top Base Can T Keep Wall And Roof Joined Autodesk Community Revit Products

Slop Bottom Of Wall Autodesk Community Revit Products
It is a nice feature.
Revit extend wall up to roof deck.

Wall Roof Joint Autodesk Community Revit Products
Revitcity Com Difficulty With Wall And Roof Ends

Solved Attach Curtain Wall To Roof Autodesk Community Revit Products

Solved Autodesk Revit 2020 Constraints Properties Issue On Wall And Level Autodesk Community Revit Products

Solved Attached Wall To Roof Problem Autodesk Community Revit Products
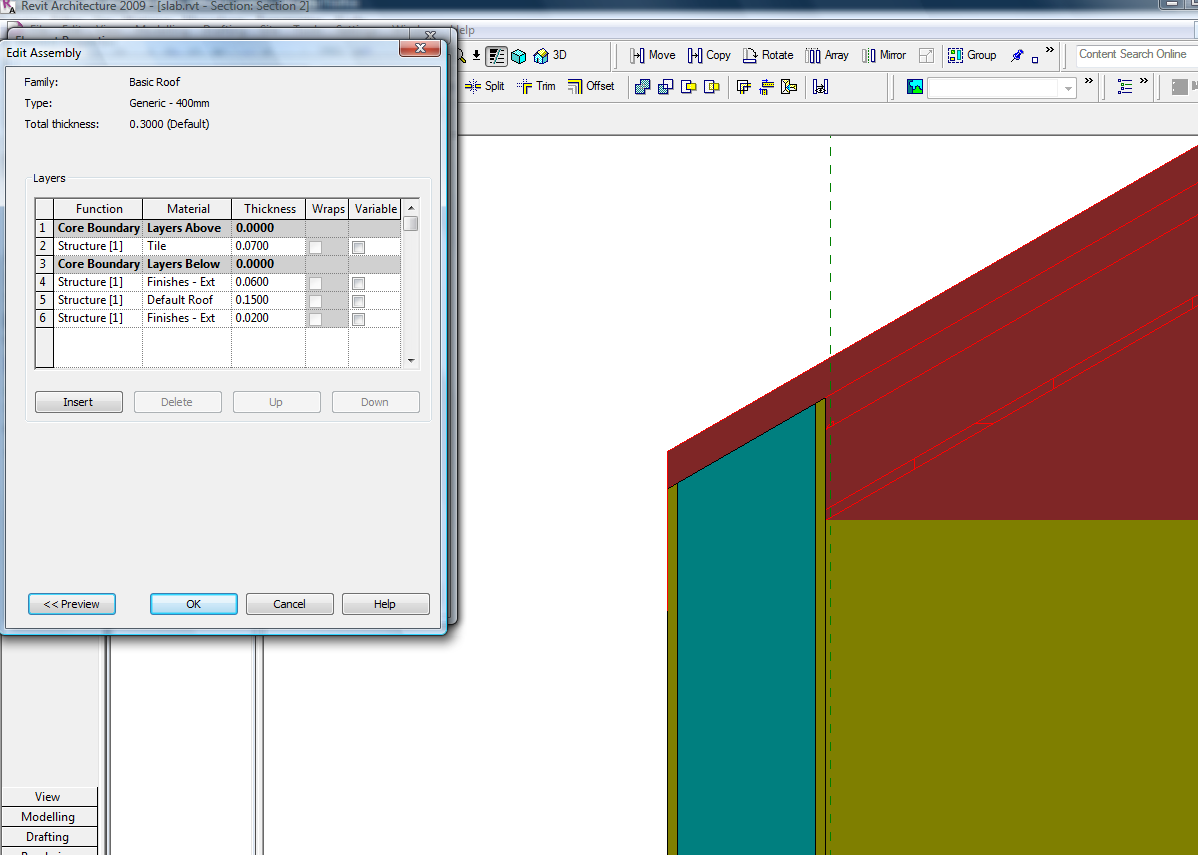
Modify Compound Walls Revit Products 2016 Autodesk Knowledge Network

Attach Wall To Multiple Roofs Autodesk Community Revit Products
Https Portal Imaginit Com Portals 0 Whitepapers Imaginit New Wp Revitroofs Pdf

Solved How To Create A Parapet In Revit Autodesk Community Revit Products
Revitcity Com Roof Wall Join Cut Roof

Revit Tutorials Roofs Youtube

Window Family Void Not Cutting Joined Wall Autodesk Community Revit Products

Revit Architecture How To Add Curtain Walls Lynda Com Tutorial Youtube

Exporting Ifc From Revit Walls Don T Attach To Roof Autodesk Community Revit Products

Attach Wall Base To Sloping Roof Top

Roof Boundary Definition And Construction Settings In Revit Models Agacad

Solved Exterior Clerestory Wall Cathedral Ceiling Autodesk Community Revit Products

Revit Architecture Roof By Footprint Bimscape Roofing Fibreglass Roof Roof Design
Https Encrypted Tbn0 Gstatic Com Images Q Tbn 3aand9gcqt Jag1pa Hofhz 59fqg8i0feamtfelr0xlmsrdq6chiqvxbg Usqp Cau
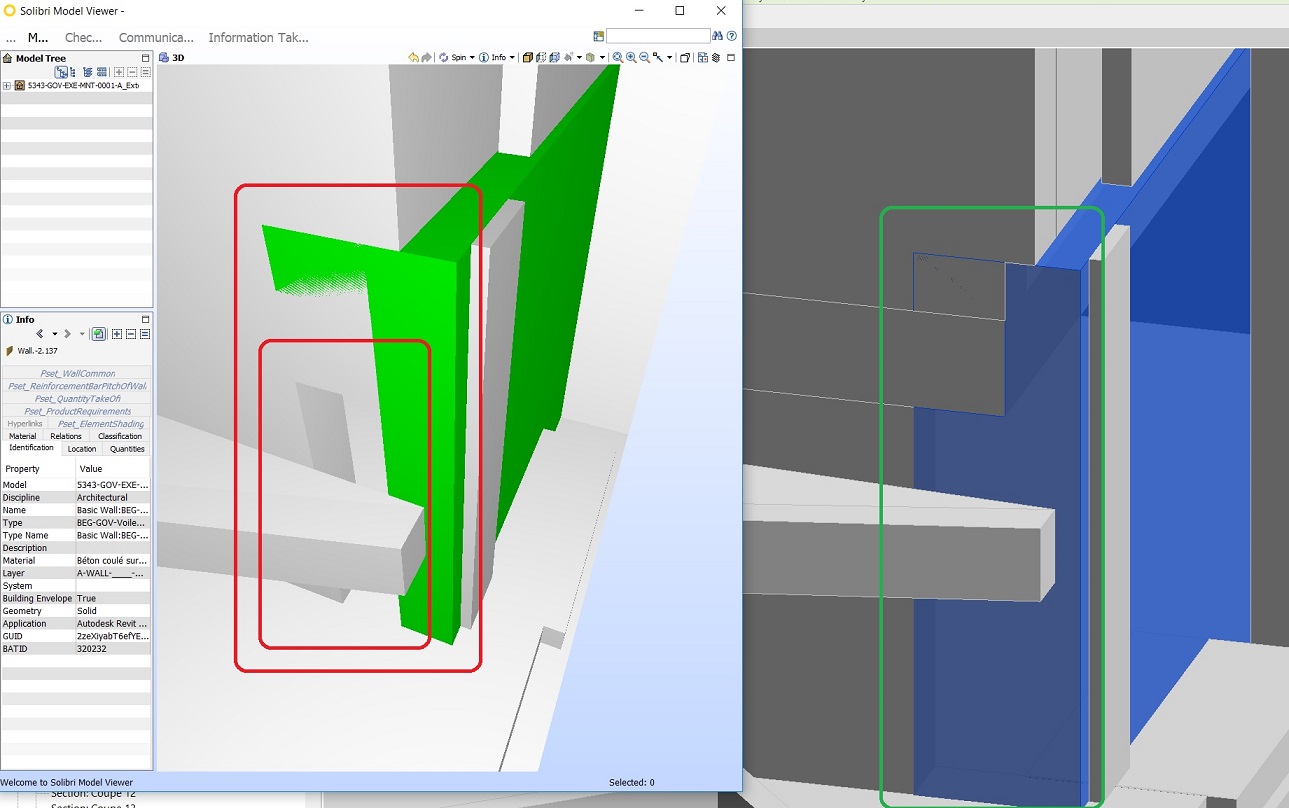
Shape Of Walls In Ifc Is Not The Same Like In Revit Revit Products 2018 Autodesk Knowledge Network

Revit Extensions Modeling Wood Framing Walls A How To Guide Youtube

Corrugated Roof And Wall In Revit A How To Guide Youtube

Solved How To Show Some Walls With Dashed Lines On A Plan View Autodesk Community Revit Products

Overhangs And Wall Thicknesses In Revit Best Cad Tips
Source : pinterest.com
