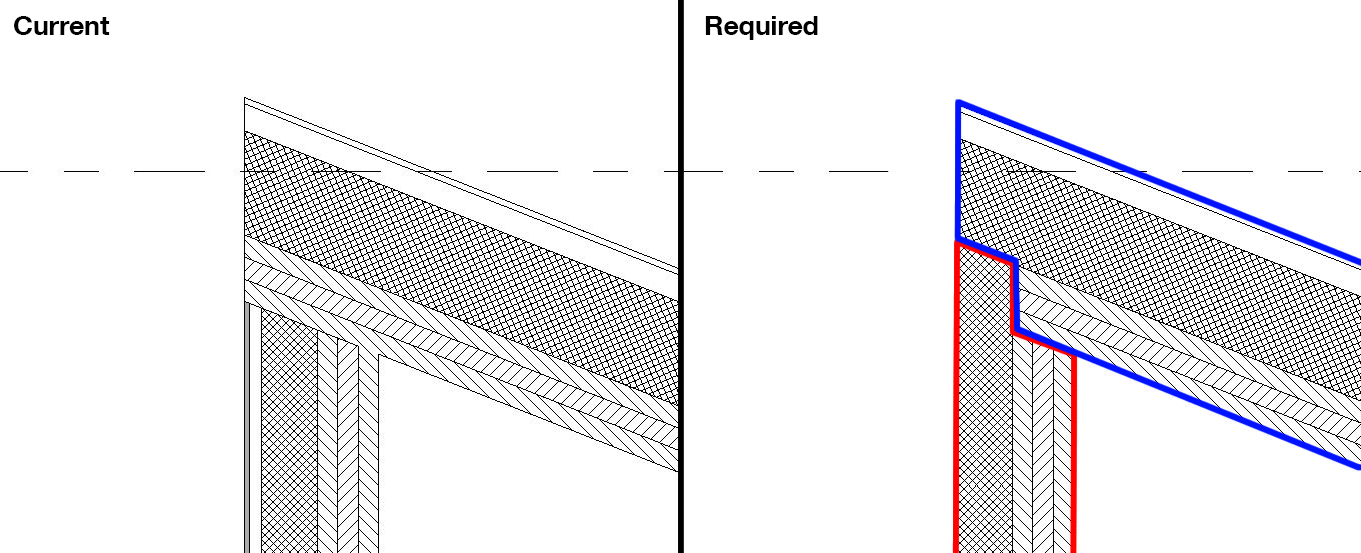
Revit Adjust Roof To Sloping Walls

How To Create A Thatch Roof In Revit Micrographics Thatched Roof Thatch Roof

Revit Tutorial Constant Slope Rigging Family Rigid Insulation Therevitkid Com Tutorials Tips Products And Revit Tutorial Rigid Insulation Tutorial

Solved Roof Wall Join One Side Roof Misses Autodesk Community Revit Products

Autodesk Revit Tutorials 11 Attaching Walls To The Roof Autodesk Revit Revit Tutorial Revit Architecture

Autodesk Revit Tutorials 14 Adding A Sloped Floor Autodesk Revit Revit Tutorial Autodesk

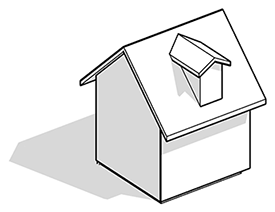
Several Residential Commercial Buildings As Well As Other Wood Framed Roofs Contain Clipped Gable Ends Also Know Building Information Modeling Roof Gable Roof

To create a slope for an odd shaped roof like the one below use slope arrow.
Revit adjust roof to sloping walls.

Https Encrypted Tbn0 Gstatic Com Images Q Tbn 3aand9gcqdhfa1qxay7d0gldcaebjrhaab5v Ikcctva Usqp Cau

Webinar 2 Creating Masses In Revit Youtube Archdesignlabs Revit Tutorial Autodesk Revit Mass
9 Tips To Understand Revit Roofs Revit Pure

How To Model Roof Construction In Revit Roof Construction Revit Tutorial Architecture Building Design

Pin On Revit Architecture Tutorials

Revit Roof Basics 10 Slope Arrow Cadclips Youtube

Revit Tutorials Roofs Youtube
5 Revit House Plan Tutorial In 2020 House Plans Revit Architecture House

Sloped Railings Fences Using Adaptive Components In Revit Revit Tutorial Components Fence

Revit Architecture Roof By Footprint Bimscape Roofing Fibreglass Roof Roof Design

Revit Tips Roof Tile Generator By Dynamo Roofing Diy Roof Tiles Revit Tutorial

Revit Roof Slope Arrow

Pin By Simon Hayes On Revit In 2020 Revit Architecture Autodesk Revit Architecture
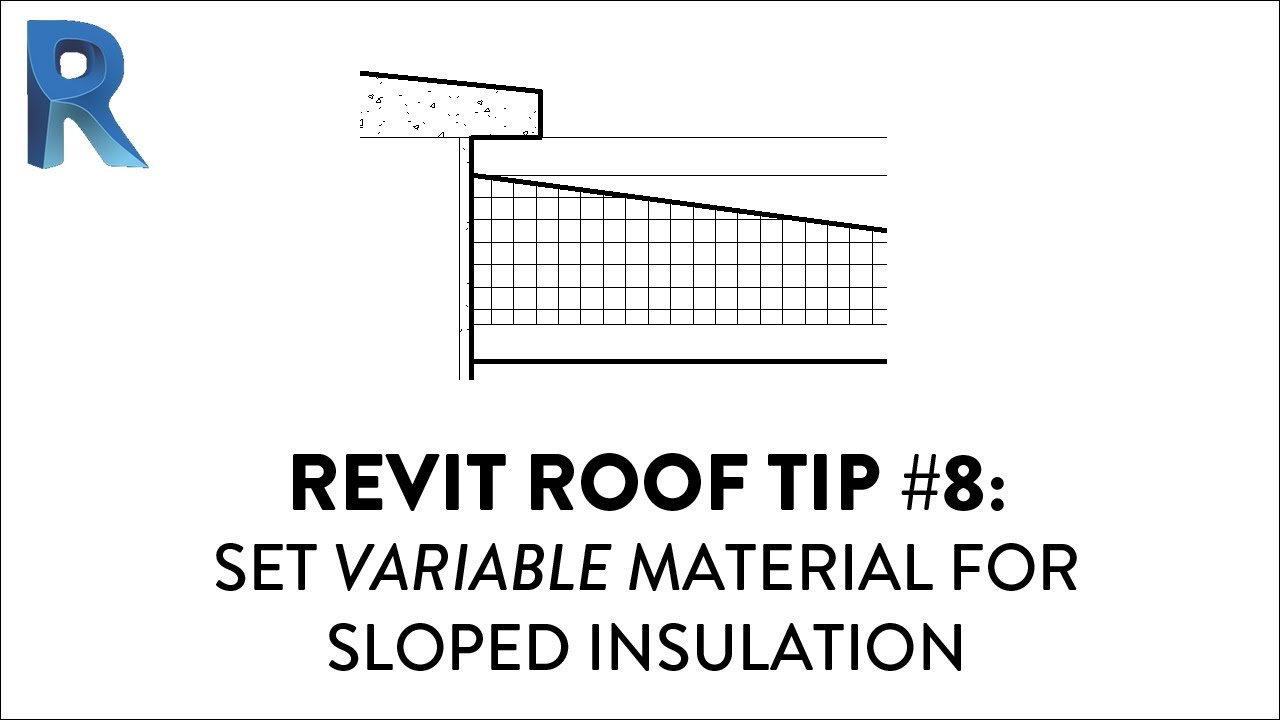
Revit Roof Tip 8 Set Variable Material For Sloped Insulation Youtube

Rafter Framing W Autodesk Revit Extensions Revit Architecture Autodesk Revit Revit Tutorial

Revit Content Advanced Bi Fold Door Revit Family Bifold Doors Revit Family Fold

How To Do Wall Tiling In Revit Using The Paint Command Wall Tiles Revit Tutorial Wall

Solved Attaching Wall To A Roof Problem Autodesk Community Revit Products
Https Encrypted Tbn0 Gstatic Com Images Q Tbn 3aand9gcqt Jag1pa Hofhz 59fqg8i0feamtfelr0xlmsrdq6chiqvxbg Usqp Cau

Solved Roof Overhang Option Not Available For Some Roofs Autodesk Community Revit Products

There Are Different Methods In Revit For Creating Roofs The Easiest One Is The Footprint Roof A Footpri Building Information Modeling Revit Architecture Roof
Revitcity Com Difficulty With Wall And Roof Ends

Revit Roof Tip 5 Activate Overhang On Picked Walls Roof Youtube

Pin On Revit
Source : pinterest.com
